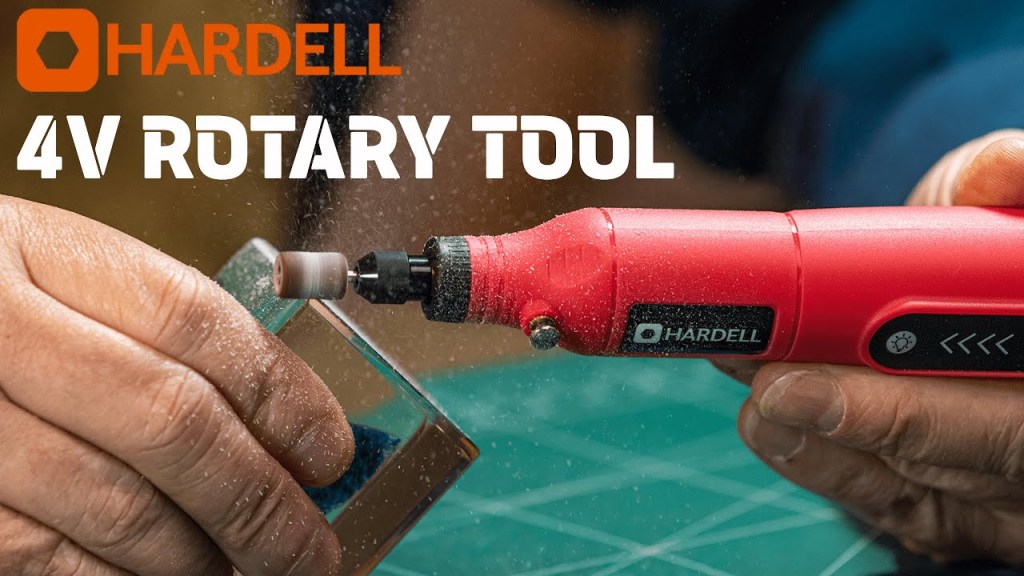
Rotary tools are versatile power tools that have become a staple in many DIY enthusiasts’ toolboxes. They offer various attachments and accessories that can be used for cutting, engraving, polishing, and sanding, among other tasks. In this article, we will explore the possibility of using a rotary tool for sanding large surfaces and discuss the advantages, considerations, and proper techniques to achieve the best results.
What is a Rotary Tool?
Before delving into sanding applications, let’s briefly understand what a rotary tool is. A rotary tool is a handheld, motor-powered device that operates at high speeds, typically ranging from 5,000 to 35,000 RPM (rotations per minute). It is known for its compact size and versatility, making it suitable for intricate tasks in various materials.
Types of Rotary Tools
There are two main types of rotary tools: corded and cordless. Corded rotary tools are powered by electricity and offer a consistent power supply, making them ideal for prolonged tasks. On the other hand, cordless rotary tools are powered by rechargeable batteries, providing more freedom of movement but with limited operating time.
Sanding with a Rotary Tool
To utilize a rotary tool for sanding, you’ll need specific sanding attachments. The most common ones include sanding drums, sanding bands, flap wheels, and abrasive buffs. These attachments are available in various grits, allowing you to choose the appropriate level of coarseness for your project.
Sandin Large Surfaces
Sanding large surfaces with a rotary tool can be a time-consuming task, but it’s achievable with the right approach. When working on sizeable flat areas, sanding drums and sanding bands are the most effective attachments. The key is to maintain even pressure and avoid dwelling too long in one spot to prevent uneven sanding.
Advantages of Using a Rotary Tool for Sanding
Using a rotary tool for sanding large surfaces offers several advantages. Firstly, the compact size of the rotary tool allows for better maneuverability and access to tight corners. Additionally, rotary tools provide a high level of precision, enabling you to achieve detailed sanding on intricate surfaces.
Things to Consider Before Sanding Large Surfaces with a Rotary Tool
Before diving into your sanding project, consider the following factors to ensure successful results:
Material Type
Different materials may require specific attachments and sanding techniques. For example, sanding wood differs from sanding metal or plastic, so make sure you choose the right accessories for the material you are working on.
Surface Size
While rotary tools are capable of sanding large surfaces, it’s essential to assess whether the surface is suitable for this method. Smaller projects might be more manageable and yield better results.
Grit Selection
The grit of the sanding attachment determines how much material is removed and the smoothness of the surface. Start with a coarser grit and gradually move to finer grits for a polished finish.
Safety Precautions
Wearing protective gear, such as safety goggles and a dust mask, is crucial to protect yourself from flying debris and dust particles during the sanding process.
Step-by-Step Guide to Sanding Large Surfaces with a Rotary Tool
After sanding, clean the rotary tool and attachments thoroughly to remove any residual debris. Regularly lubricate moving parts and replace worn-out attachments to maintain optimal performance.
Alternatives to Rotary Tool Sanding
While rotary tools are versatile, there are alternatives for sanding large surfaces, such as belt sanders, orbital sanders, or even manual sanding using sanding blocks.
Conclusion
Using a rotary tool for sanding large surfaces is indeed possible and can yield excellent results with the right approach. However, it requires careful consideration of material, surface size, grit selection, and safety precautions. By following the step-by-step guide and avoiding common mistakes, you can achieve a smooth and polished finish on your projects.
FAQs
Can I use a cordless rotary tool for sanding large surfaces?
- Yes, you can use a cordless rotary tool, but be mindful of its battery life for prolonged sanding tasks.
What is the best grit for initial sanding on wood?
- For initial sanding on wood, start with 80 to 120 grit to remove rough surfaces and imperfections.
Can I use a rotary tool to sand metal surfaces?
- Yes, rotary tools can be used for sanding metal surfaces, but ensure you have the appropriate attachments for metal.
Is it necessary to wear a dust mask while sanding?
- Yes, wearing a dust mask is essential to protect yourself from inhaling harmful dust particles.
Can I use a rotary tool for wet sanding?
- While rotary tools are not designed for wet sanding, some accessories and attachments may be suitable for wet environments. Always check the manufacturer’s guidelines.

Leave a comment